

Breaking and entering the Black Barrow: Gloomhaven scenario 1
OK then, Gloomhaven. You and us. And your first scenario – The Black Barrow. Let’s do this.
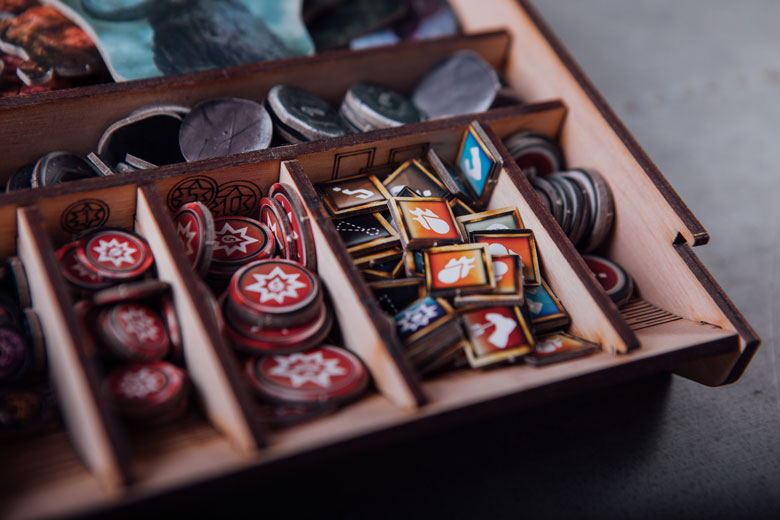
Gloomhaven is one of the biggest titles of the last few years in both impact and sheer physical size. It’s kind of hard to miss: it’s bigger than one of my children and weighs about the same as a Volvo, especially now I’ve added a custom wooden organiser.
(The organiser is brilliant, by the way, and much-recommended if you want to spend time playing Gloomhaven instead of setting it up.)
It’s gigantic, and it’s great, and you can look forward to us raving about it much more in future.
It’s also been lurking at us from the shelf for too long – let the great Boards and Booze Gloomhaven playthrough begin!
The Black Barrow (scenario 1) is really beginner’s stuff – it’s only what you’ll find when you first open up the box. Spoilers might appear in future articles but let’s be honest – it’s going to be negligible for a long time. We’ll probably see the End Times before we unlock any new classes.
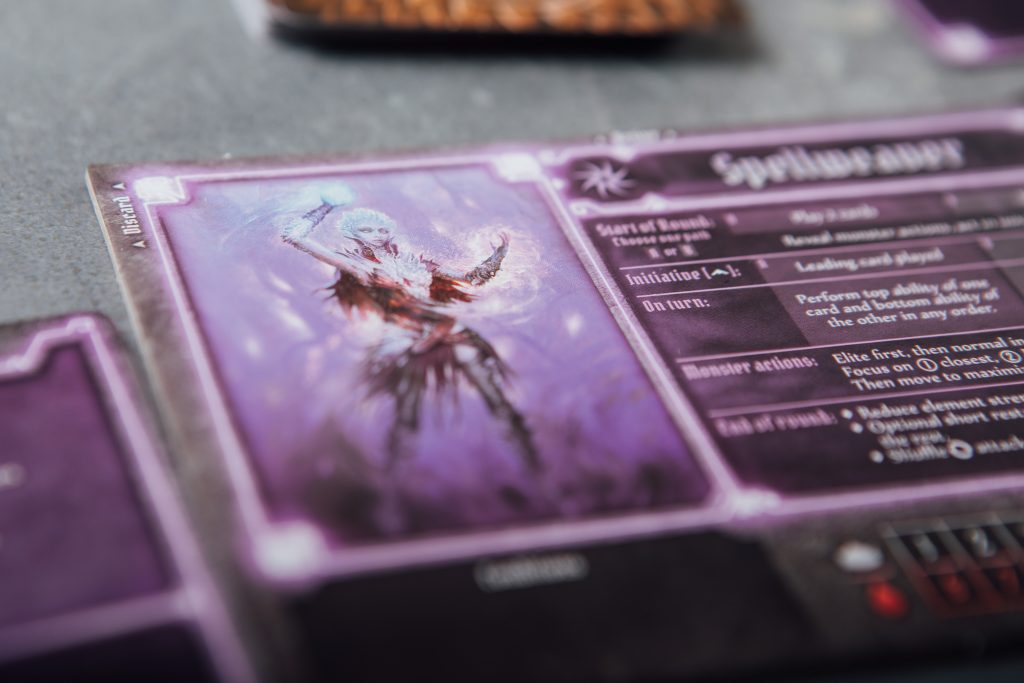
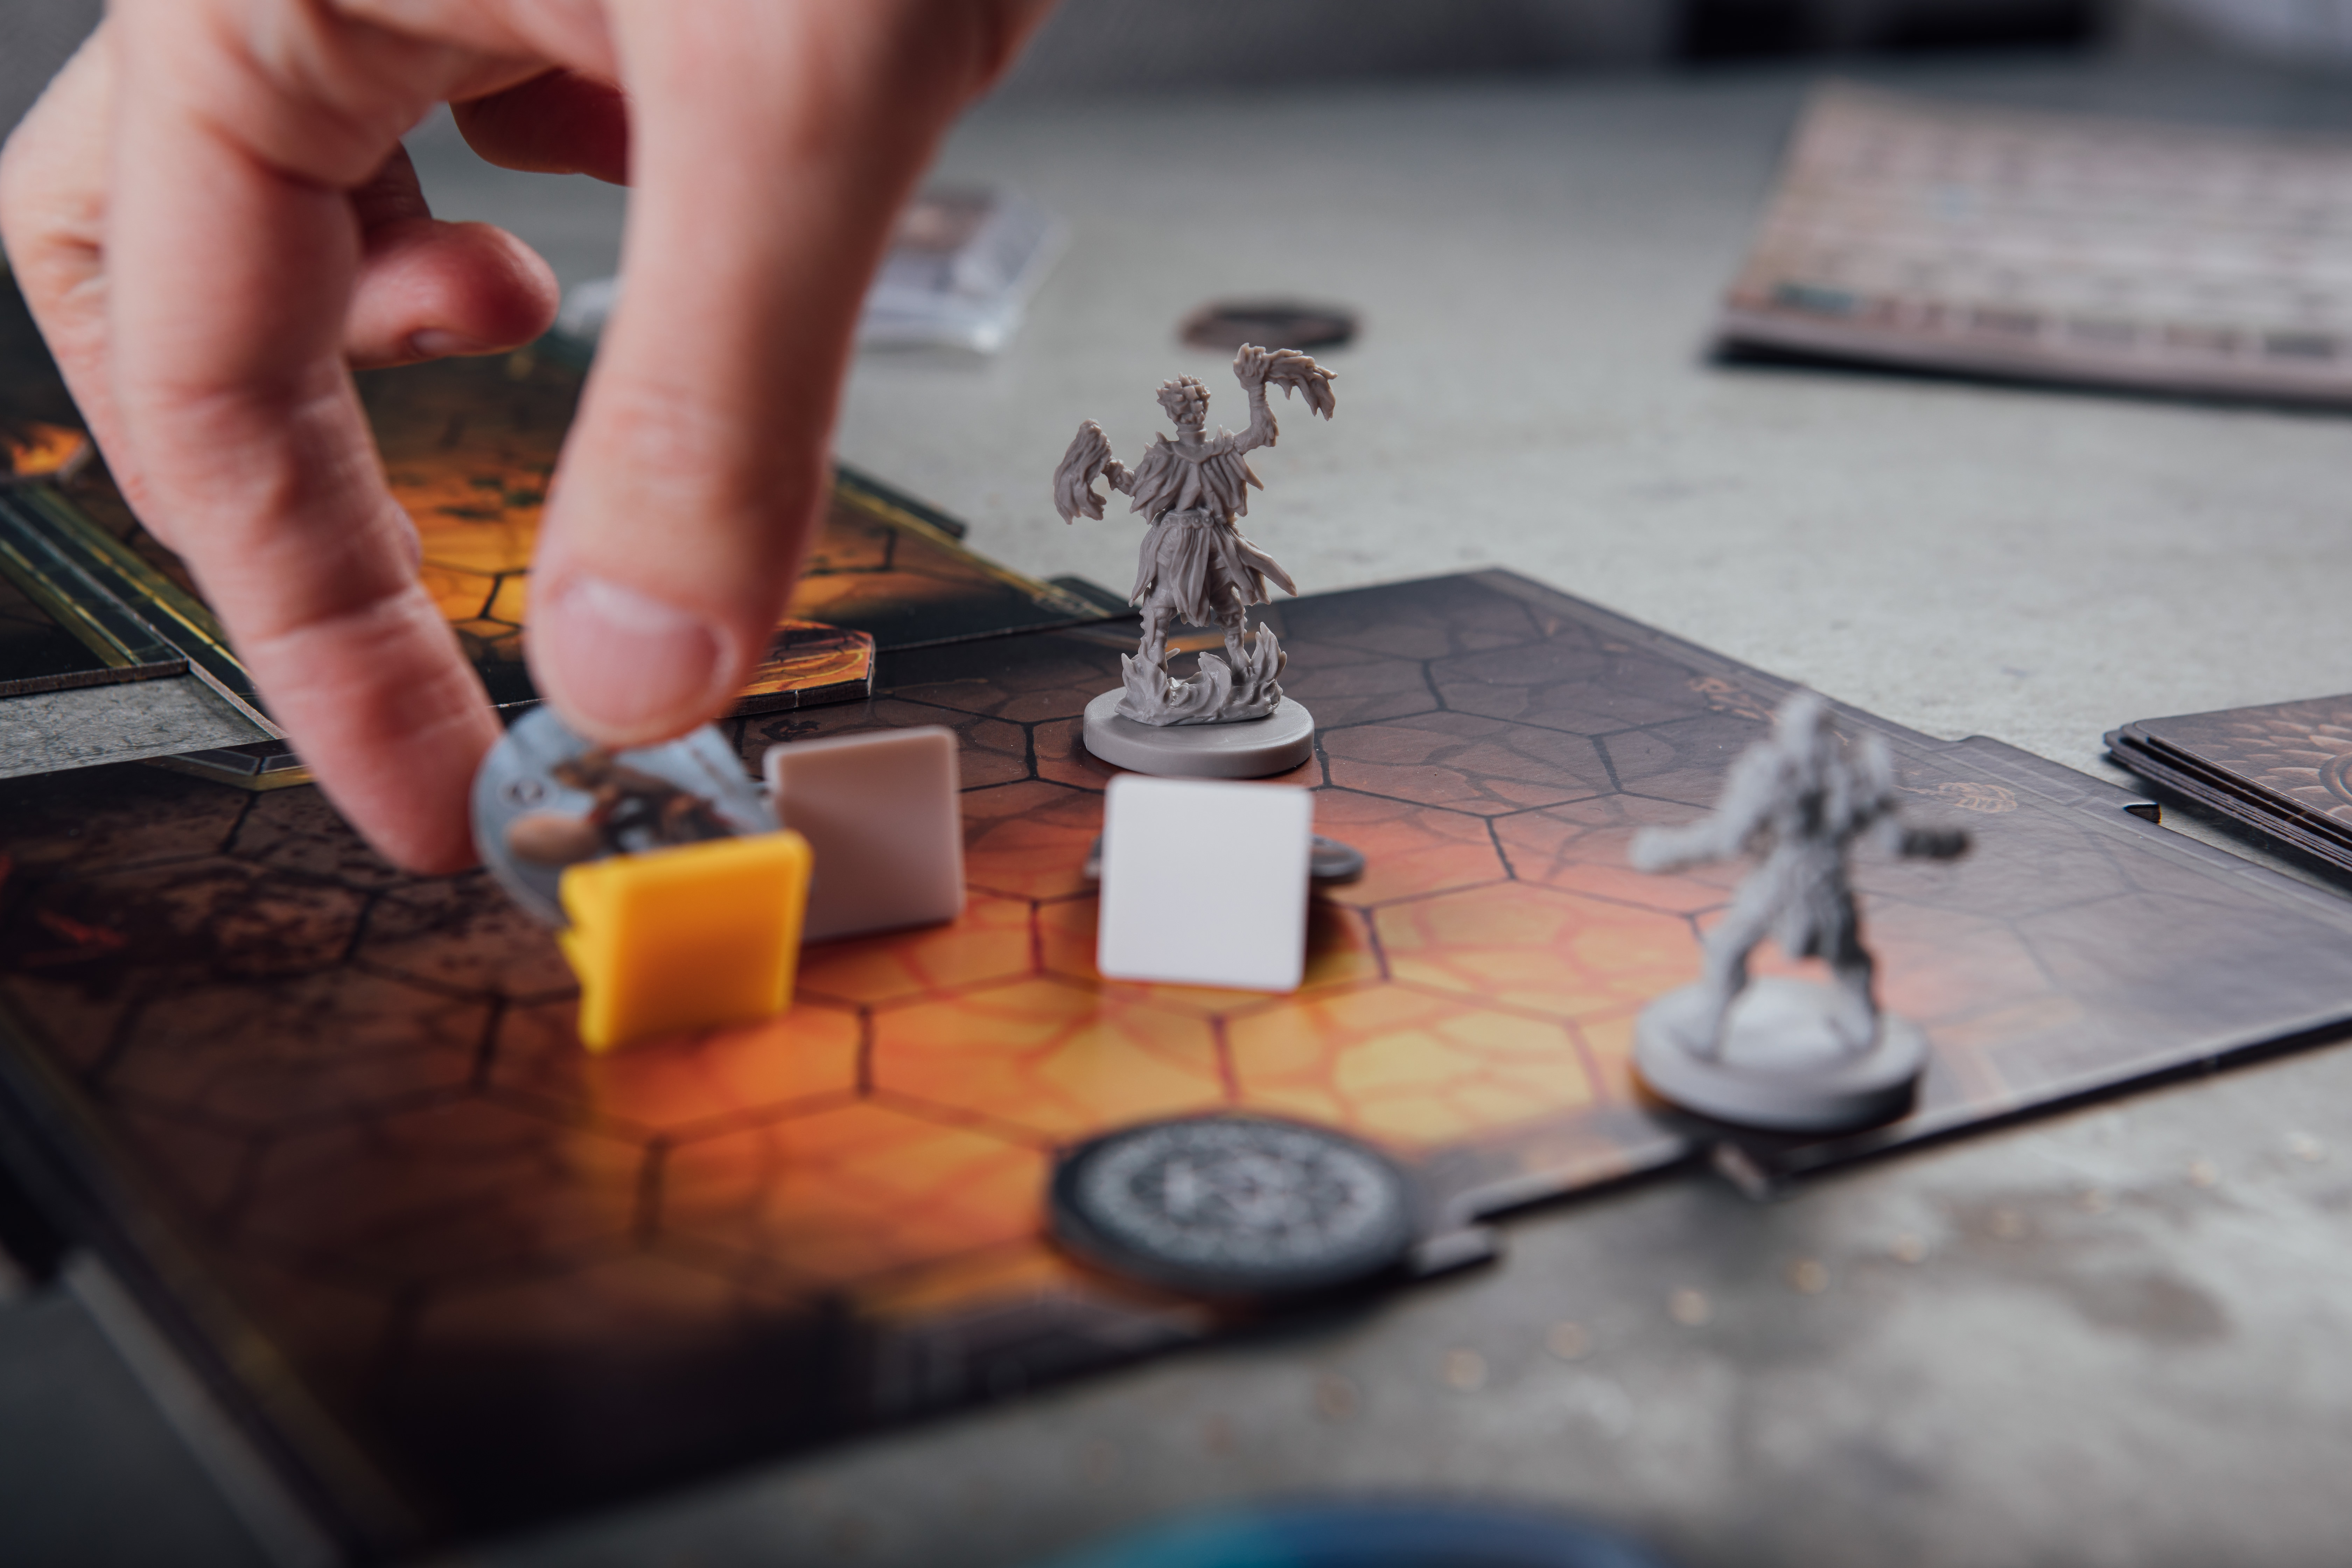
The curtain rises on two motley characters. Our first is an Orchid Spellweaver: a somewhat fragile spellcaster with a great line in crystal skin. The other is a burly (if surprisingly short) rock-person who the character sheet tells us is a Savvas Cragheart.
It’s a dungeon crawl classic: we’ve got a tank and a squishy caster. Except we don’t, really. This is Gloomhaven, so none of these tropes are as hackneyed as you might expect.
Mercenaries need love too
The Orchid Spellweaver has a unique (so far, at least) ability to refresh all her lost cards back into her deck. (This is kind of a big deal in Gloomhaven, given that your deck is your timer as well as your health and attack options Run out of cards, and your mission is over.)
The Cragheart, on the other hand, can take a few more hits – but unless you go out of your way to forcibly turn him into a melee build, he’s much better at range.
Even with the starting decks alone there are enough wrinkles in what these two can do to make the game feel immediately fascinating.
If you read the introductory paragraph, which we did eventually after playing for several hours, you’ll know that the action opens in the Sleeping Lion, a tavern favoured by mercenaries. The Sleeping Lion even appears on the box, so you know it’s kind of a big deal. It’s the fantasy equivalent of the job centre, but slightly less violent.
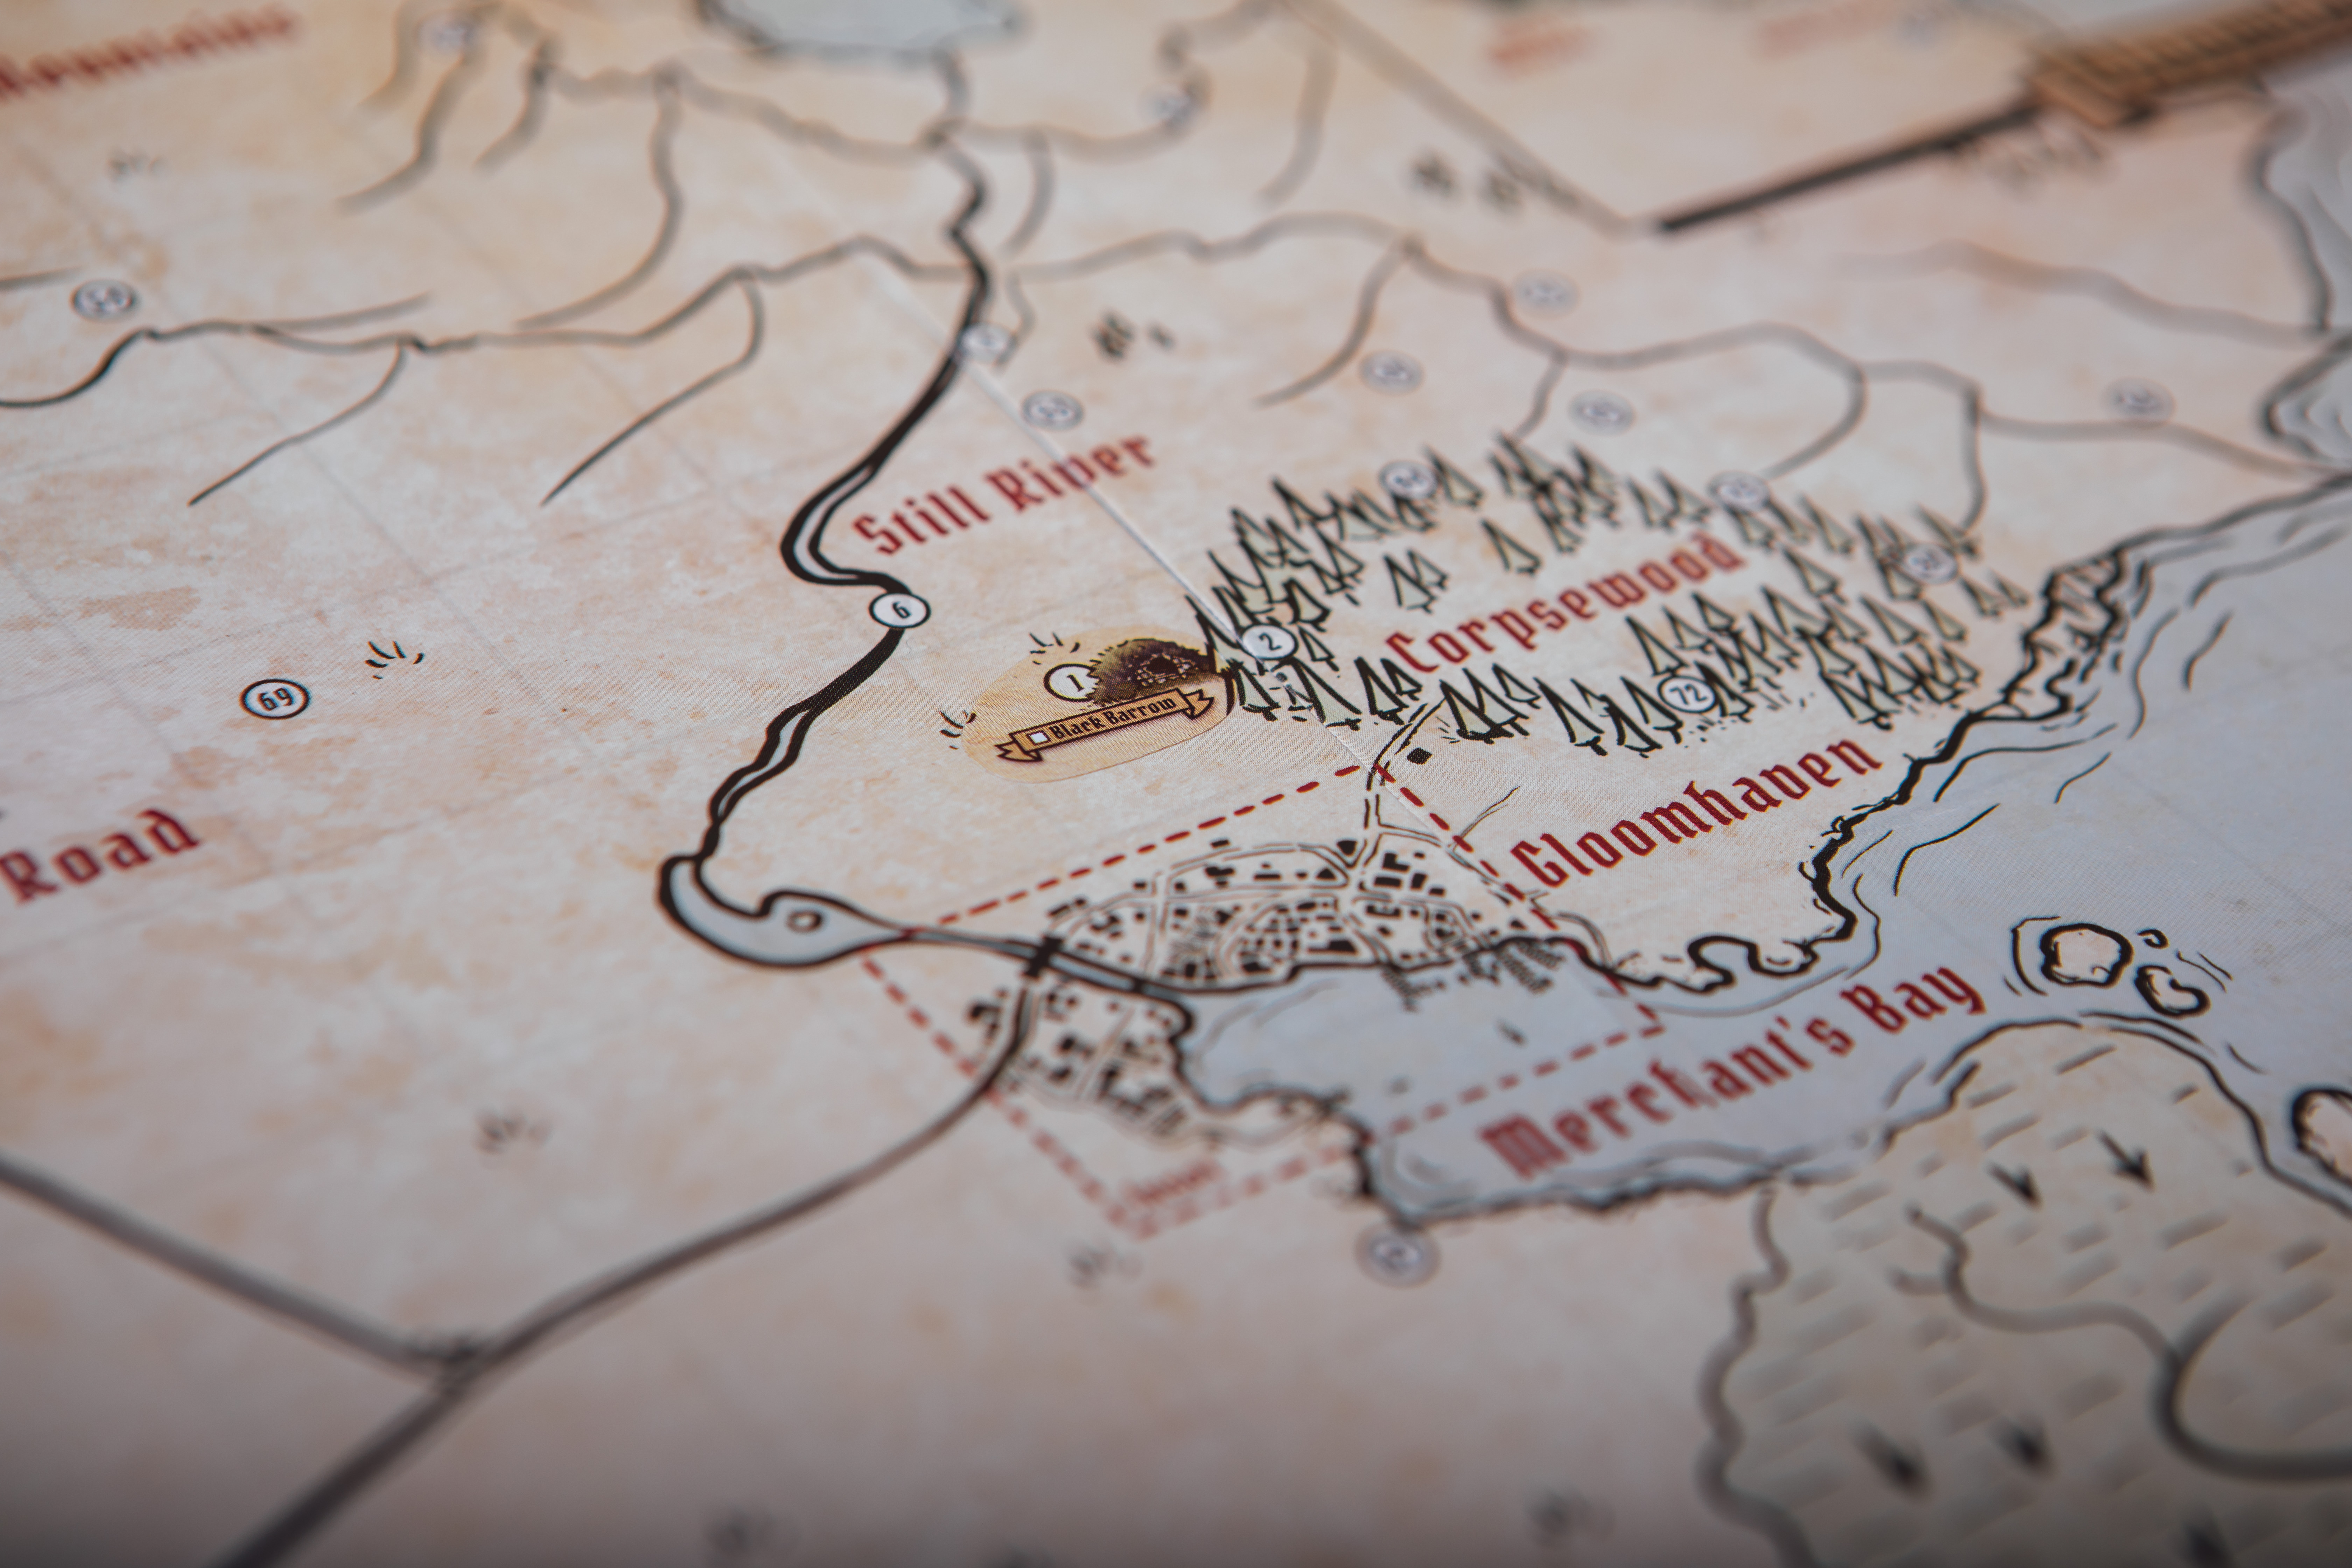
Our two slightly clueless heroes are approached by a Valrath (nope, we have no idea either but apparently she has a tail) with a job offer. Namely, find some bandits causing a spot of bother, duff them up, and get out clean/at all. It beats killing oversized rats in a tavern cellar, I suppose.
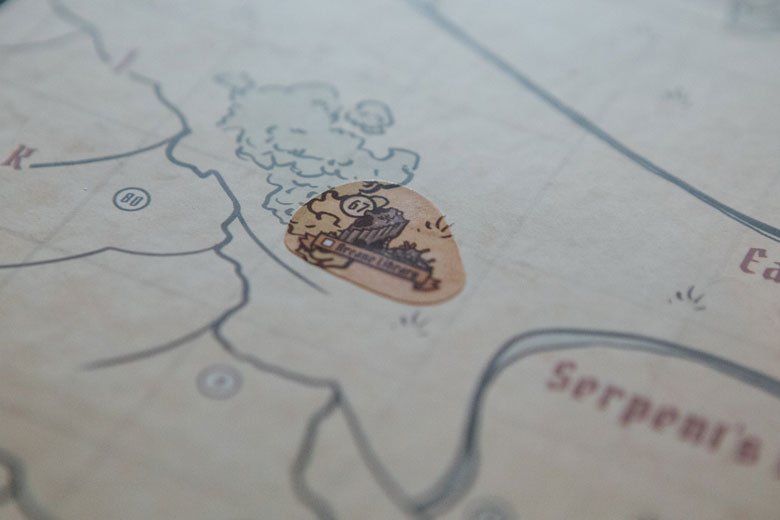
Dutifully, we head to the Black Barrow, stopping only to pop a sticker on the overworld map. Once we’ve finished squealing like hyperstimulated toddlers for several minutes, we’re off.
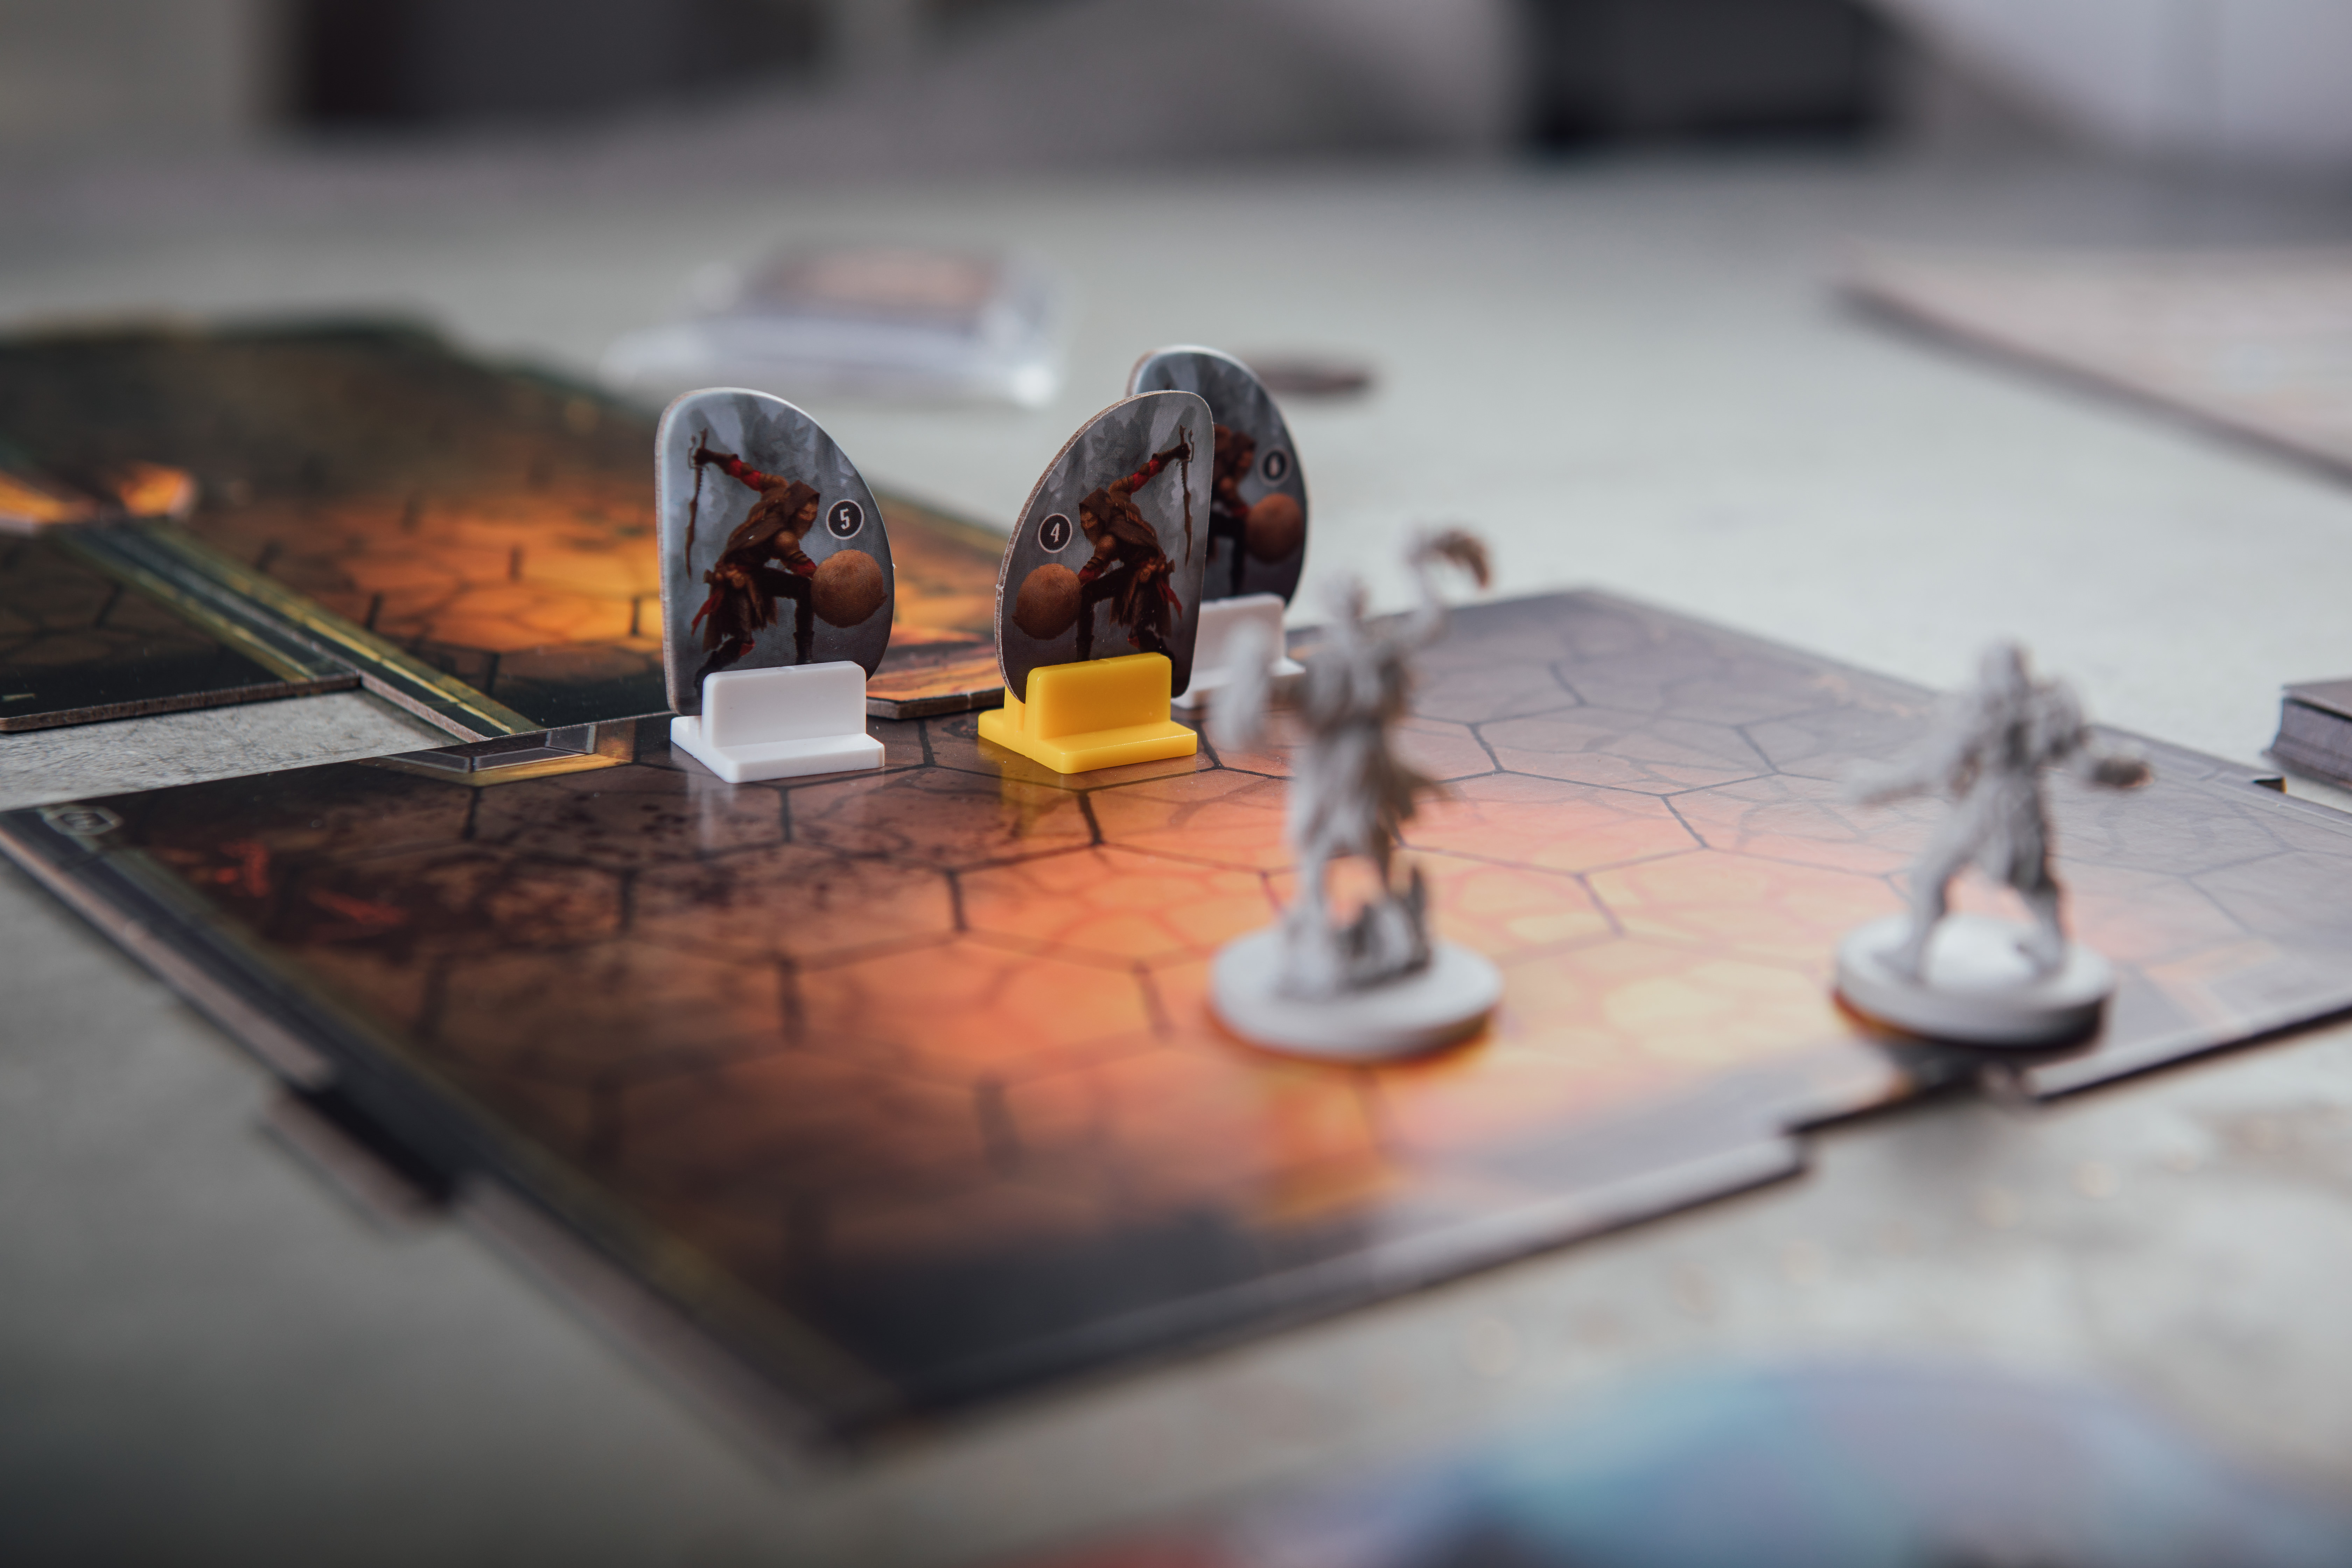
The Black Barrow: it’s all kicking off
The bandits aren’t best pleased to see us and rather than engage us in meaningful dialogue, choose only to attack. Sigh. Can’t we all just get along?
As our first time out, it’s all a bit wobbly.
Showing a complete misunderstanding of the initiative system, our heroes hang back, allowing the guards to make the first move – it’s just lucky that they don’t move very far.
The Cragheart, presumably surprised at meeting enemies, hurts nobody with his opening gambit of Dirt Tornado. He does muddle two of them, however, prompting a rapid riffling of the rulebook before realising there’s a handy reference card right in front of him. (Muddle causes disadvantage, by the way – meaning you pick two attack modifier cards and apply the worst one.)
The Spellweaver wastes no time in raising a summons using the ‘Aid from the Ether’ who can neither attack nor move this turn. Brilliant.
What an action-packed introduction.
Thankfully, this situation doesn’t last long. Craggy lumbers forward to lay out two guards, taking a spot of damage while the Spellweaver makes up for lost time by hurling Fire Orbs around with abandon.
Fire Orbs is a loss card – powerful but one-time-only. Unless, that is, you have a very specific card that lets you bring back previously lost cards. This might be essential to mastering the Spellweaver class, but feels suspiciously like cheating to the Cragheart.
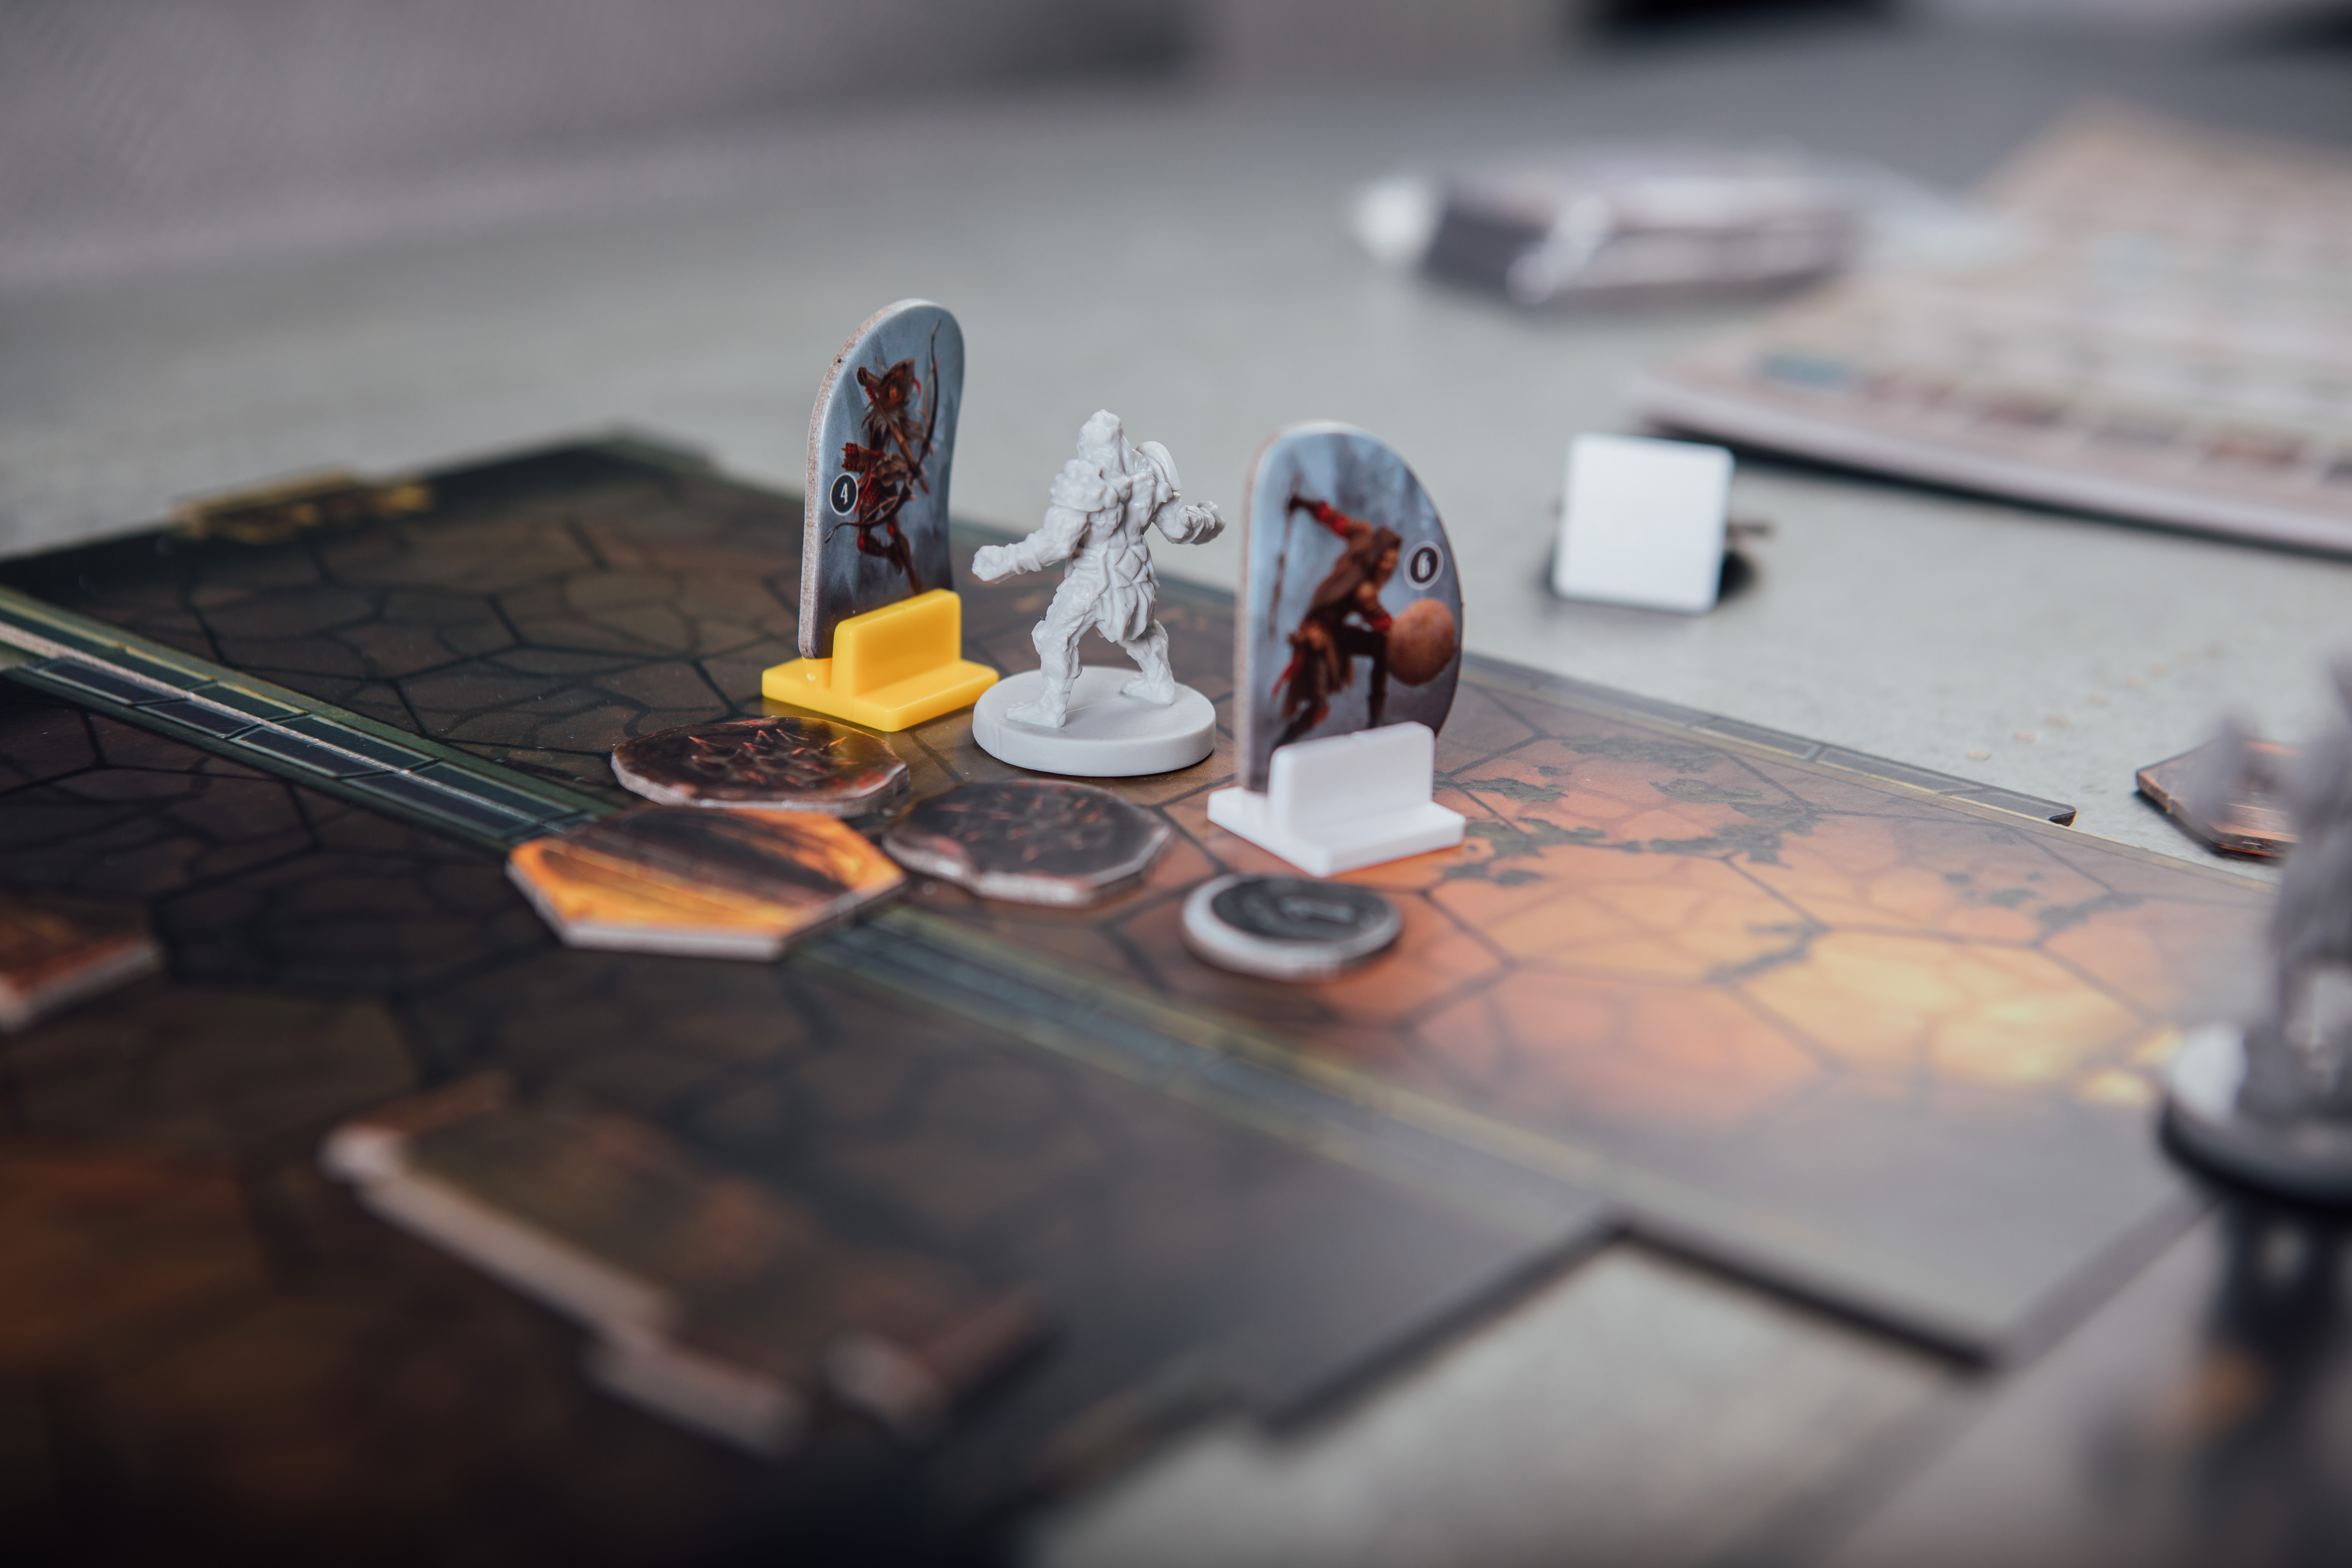
The bit between his teeth, and still misunderstanding the flow of this game, the Cragheart now takes the lead. Running valiantly (and stupidly) away from the money left behind after killing the bandit guards, he barges through the door to the Black Barrow’s next room. And into trouble.
Sheer idiot luck
‘I am made of rock, and therefore smashy,’ thinks the Cragheart, leaping at the nearest bandit archer.
It’s a fine plan, with one chief flaw: he’s not as smashy as he thinks he is. Between his Crater and the Spellweaver’s Mana Bolt, one of the bandits goes down, but that’s not enough to stop him being on the end of what’s technically called a shoeing.
Luckily for our heroes, the Black Barrow is only the first mission, and we’re not playing Kingdom Death Monster, so nobody’s dead (yet). The remaining two bandits don’t last all that long (hooray for highly situational cards!) and before long, only the final room awaits.
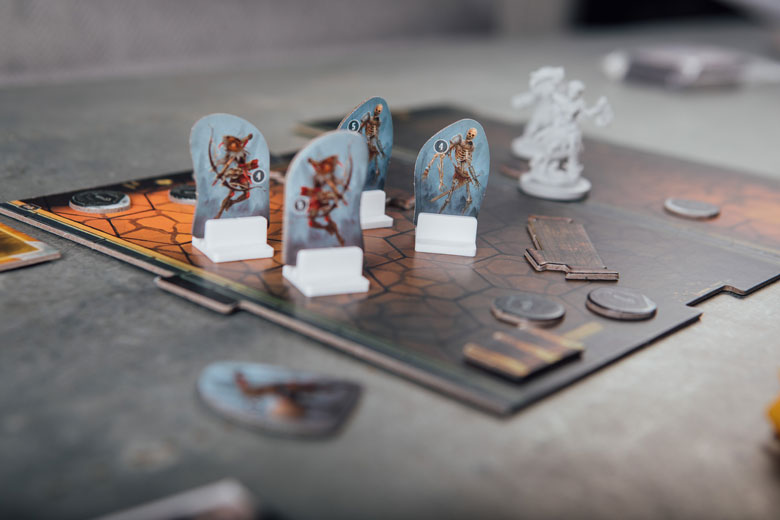
The inner sanctum of the Black Barrow is decorated with a beautiful mix of bandit archers, gold and animated skeletons.
These Living Bones hit really hard if you’re foolish enough to get close to them. Through sheer idiot luck we manage to somehow avoid exactly that.
Burning a loss card the Cragheart Rock Tunnel deep into the room, damaging the living bones as he goes. They’re immobilised too, leaving them ineffective – and a prime target for more Fire Orbs from the Spellweaver.
The Spellweaver wastes no time in bringing back her magical ally as a shield against the archers, who promptly get walloped with the Cragheart’s Avalanche anyway.
Sensing the end being nigh, the rocky pilferer hops over to open the chest in the corner.
It’s a random scenario!
At this point, the Black Barrow is all but done. We effectively kite the last remaining skeleton around the room as we hoover up the last bits of gold.
There are cheers – actual cheers – when we realise how effectively we’ve demolished this final room. Our questionable showing in two thirds of this dungeon forgotten, we plough straight in to the next mission. From the Black Barrow to the Barrow Lair. What could go wrong?
“These Living Bones hit really hard if you’re foolish enough to get close to them”
What do you mean? Level one non-elite Living Bones have base attack of only 1.
Very true! But try telling that to the character on the receiving end of the ‘target one enemy with all attacks’ AI card – especially when the attack modifier deck doesn’t like you… 😉