

Aimlessly shopping in the Barrow Lair: Gloomhaven scenario 2
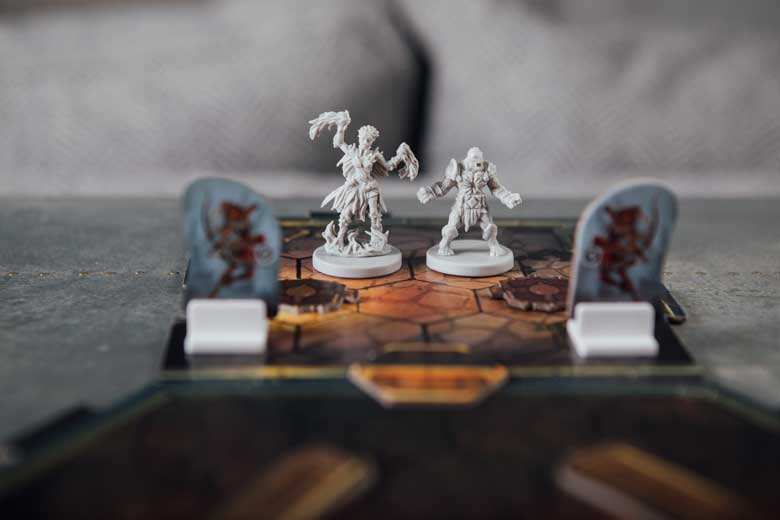
The Barrow Lair stands before our intrepid explorers. Fresh from an undeserved victory in the Black Barrow, the two heroes prepare to continue the fight.
The Spellweaver asks: ‘Shall we enter?’ Her voice is the crystalline tinkle of wind chimes as the doorway to Scenario 2 beckons them hence.
‘Hold that thought,’ says the Cragheart. ‘I’m just popping to the shops.’

Welcome to the second part of our Gloomhaven playthrough! Here we’ll dive into Scenario 2: Barrow Lair. If you’re keeping yourself completely pure then obviously don’t read this, but we promise that the spoilers are pretty mild.
The Barrow Lair picks up exactly where the Black Barrow left off. Some scenarios in Gloomhaven are linked, allowing you to jump straight in from the last scenario. Mechanically, this gets you out of encountering another road event, which is good thing, as these tend to be… tricksy.
Of course, this also means that you don’t get to experience a town event, which are more rewarding. The Black Barrow and ensuing Barrow Lair are linked scenarios, so… guess what we do?
Of course, we opt to return to town.
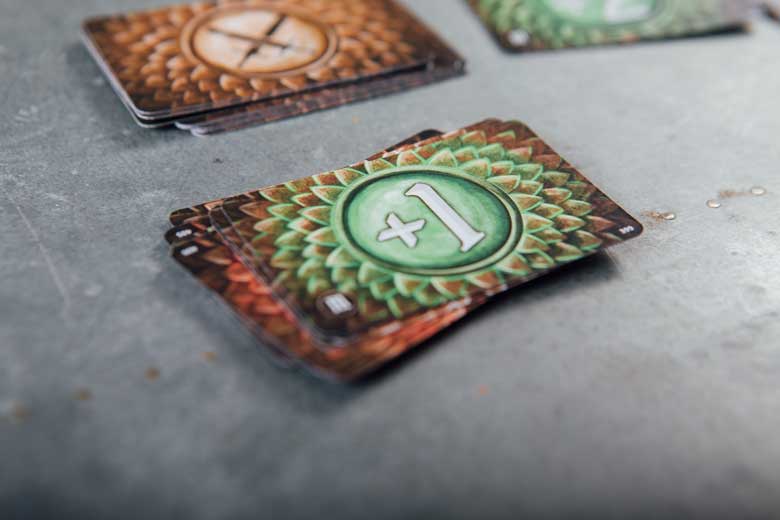
This is a terrible idea. We immediately waste 10 gold buying worthless junk from a Quatryl. We make ourselves feel better by donating money to the Sanctuary, and earning ourselves some neat Bless attack modifier cards in the process.
(Donating enough money to the Sanctuary will also let us open an envelope in due course, which is actually the real reason for doing so.)
Expecting things to get better, we hit the road again. Before you know it, we’re running headlong away from a forest fire. We arrive back at the Barrow Lair singed and decidedly uncomfortable. But the lair awaits – game on!
Welcome to the Barrow Lair, make yourself comfortable
It feels suspiciously low key as the first room gets underway, revealing… two lowly bandit archers.
The Cragheart still really hasn’t gotten the hang of his cards yet. While he takes out one archer, poor planning means he fails miserably at belting them into their own trap.
Adding insult to injury, the Spellweaver makes short work of the other, and takes one for the team by springing the trap blocking the door. She uses her face, we think. She probably also stares at her companion impassively while she does so.
Without further ado the door is burst open and lo and behold, we’re faced with our first boss! So that’s why we had to find the boss AI deck.
It’s a Bandit Leader, except he’s got some sort of freaky black energy crackling around his hands and he’s wittering on about ‘the Gloom’.
‘Hold on,’ asks our Spellweaver. ‘Isn’t that a bit like the name of this game?’
‘Not to mention being the name of the major town,’ agrees the Cragheart. ‘Think it’s significant to the plot?’
‘Naaah,’ say the Spellweaver. ‘Best not to think about it too much.’
Nevertheless, the black stuff worries the two of them enough to freak out and start throwing everything they have at him. Pacing be damned – it’s loss cards all the way.
At the mercy of a terrible AI deck
The Spellweaver dives behind a table, cunningly summoning help from the ether to stand between her and the boss.
Craggy loads up on Backup Ammunition before deploying Massive Boulders all round.
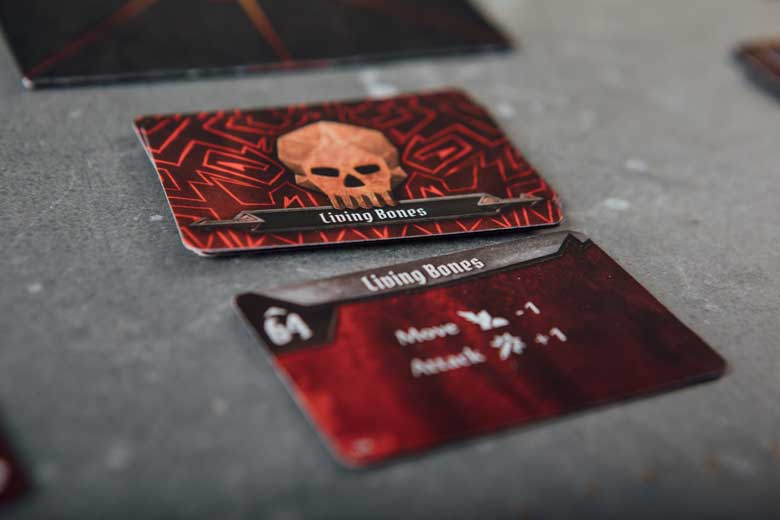
The Bandit Leader is at the mercy of his AI deck, and fate is not kind. Over the next few turns he mostly runs around trying to reach things he can punch, and summoning short-lived skeletons.
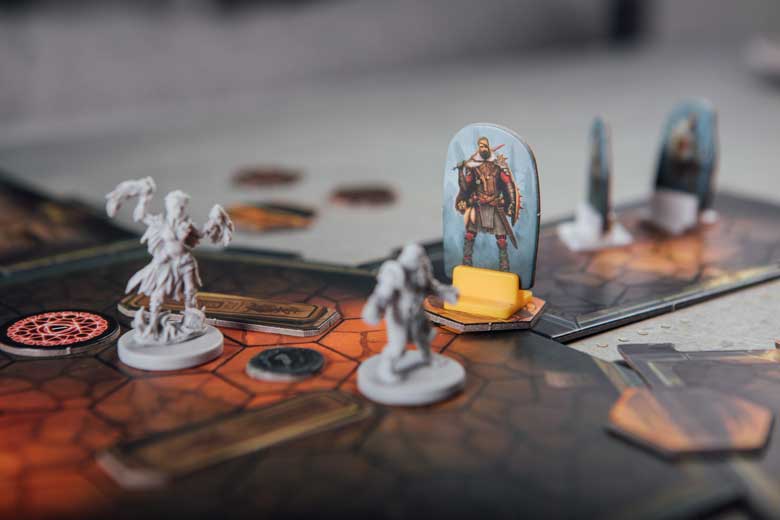
On the receiving end of heavy, panicked fire, it’s not long before he goes down. He leaves behind one Living Corpse that moves so slowly our heroes get to dance around hoovering up gold before finally despatching it. And just like that, the Barrow Lair is clear!
This fight could have gone a lot less comfortably. One of the boss moves is to run around opening doors willy-nilly, bringing even more enemies into the mix.
Luckily for us, that didn’t really happen otherwise our tactic of indiscriminately nuking the boss would have been problematic. There were three other chambers off this room left unopened – that’s a lot of extra things to kill.

Our heroes celebrate another flukey victory to the soundtrack of more squealing as more stickers get placed on the board.
The XP for winning leaves the Spellweaver invading the personal space of level 2. She’s not quite touching but close enough that level 2 is really starting to feel uncomfortable.
Craggy, on the other hand, is very much levelling up! He looks at how many cards he has left after throwing caution to the wind. Deciding that discretion is the better part of valour, he takes Sentient Growth, a (non-loss) attack/healing combo.
Job done, it’s back to Gloomhaven to decide which of our two new locations to hit next. Will it be the Inox Encampment or Crypt of the Damned?